DTH Hammer
Introductions 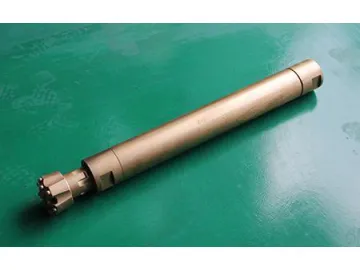 Parameters
Product maintenance Clean all spare parts thoroughly with clean diesel oil. Check the nicks, burrs and cracks on piston surface, polish with sandpaper or replace it. Check the nicks, burrs and cracks on inner cylinder and inner hole of bushing, polish with sandpaper or replace them. Check the cracks and abrasions of spline sleeve. Install the spline sleeve on a new drill bit for torsion test and replace it if the loosening is more than 5mm. Check the nicks, burrs and cracks on cylinder base and core tube. Polish irregular shapes and replace them if necessary. Check the cutting transverse seam and cracks of O shaped sealing ring, replace it if necessary. Check the abrasions and damages of upper check valve. Check whether the check valve can slide freely around the cylinder base and core tube and check the sealing performance with upper joint. Measure the fit clearance between inner hole of piston and the top of core tube. If the fit clearance is more than 0.35mm, measure again with a new piston. If the fit clearance is still more than 0.35mm, replace core tube to meet requirements. Measure the fit clearance between piston and inner cylinder. If the clearance is more than 0.2mm, measure again with a new piston. If the clearance is still more than 0.2mm, replace parts to meet requirements.
WC series DTH hammer, adopting valveless structure and with low air consumption, can be used on various drill rods and drilling rigs. It can be widely applied in core (sample) exploration of mineral geology, hydrogeology and engineering geology.

| Type | Hole Diameter (mm) | Tool Diameter (mm) | Air Consumption (m3/min) | Air pressure (MPa) | Power (J) | Frequency (HZ) | Length (mm) | Weight (kg) | Out Flat Rods (mm) |
| WC56 | 65 | 56 | 3-4 | 0.5-0.6 | 50-60 | 12-14 | 910 | 12 | Φ50 |
| WC70 | 75-95 | 66 | 3-4 | 0.5-0.6 | 60-80 | 12-16 | 1030 | 16 | Φ50, 60 |
| WC85 | 95-110 | 85 | 3-4 | 0.5-0.6 | 80-120 | 10-16 | 1030 | 23 | Φ60, 73 |
| WC110 | 115-140 | 102/106 | 4-6 | 0.5-0.7 | 180-420 | 12-15 | 1200 | 42 | Φ73, 89 |
| WC130 | 135-150 | 124 | 4-6 | 0.7-0.1 | 160 | 18 | 923 | 60 | Φ73, 89 |
| WC150 | 150-180 | 142 | 6-10 | 0.5-1.2 | 200-580 | 12-15 | 1230 | 68 | Φ89, 114 |
| WC200 | 205-250 | 185 | 18-21 | 0.5-1.7 | 450-800 | 10-14 | 1400 | 118 | Φ114, 127 |
Scan QR to Read
Links:https://www.globefindpro.com/products/12643.html
Links:https://www.globefindpro.com/products/12643.html
Recommended Products
-
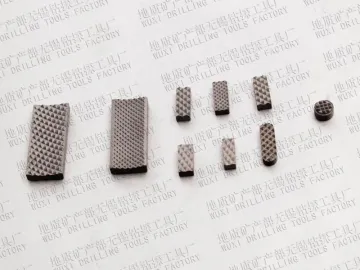 Carbide Cutting Tools
-
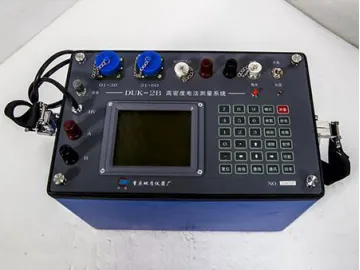 High Density Electrical Measuring Instrument, Type DUK-2B
-
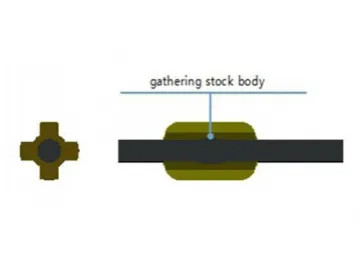 Centralized Sucker Rod
-
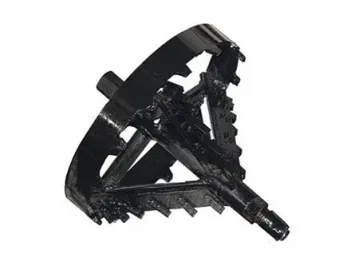 Directional Drilling Fly Cutter Reamer
-
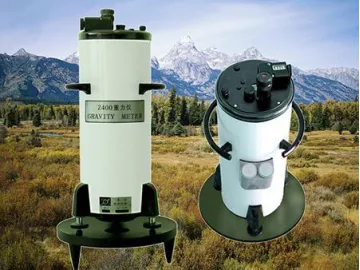 Z400 Gravimeter
-
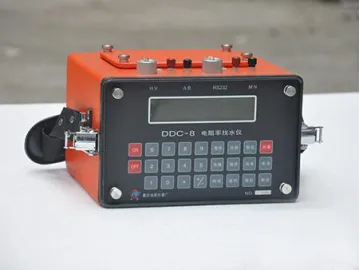 Electrical Resistivity Measuring Instrument, Type DDC-8
-
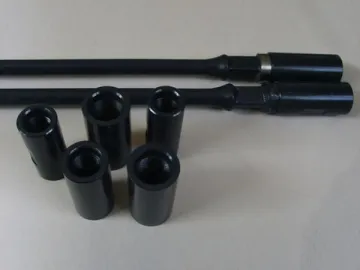 Steel Sucker Rods
-
 Electromagnetic Method Instrument, Type CLEM-V
-
 Geological Seismometer, Type DZQ12-2A
-
 Handheld Multichannel Gamma Ray Spectrometer
-
 Combined Ocean Bottom Seismometer
-
 Our Business
Hot Products
