Rotorless Rheometer
Rubber testing equipment is used to analyze the performance of rubber, Rheometer is used to develop new products, and control the rubber product quality. The curves and characteristic parameters on vulcanization of rubber materials can be obtained using Rheometer based on the measurement of the torque created by the rubber material on the oscillating die. Such as MH, ML, Ts1, Ts2, T10, T30, T60, T90 and Vc can be abtained by the machine.
There are two major aspects of Rheometer function: on the one hand can be used to conduct various kinds of rubber design, formulation optimization or new product development; on the other hand, Rheometer is used for the control of stability during the production process, that is, through on-line detection or monitor product quality testing to ensure stability of production. During the practice time, MR-C3 can reflect the distribution of ingredients in each rubber group and reflect the components influence on the vulcanization process, is very helpful for technical personnel.
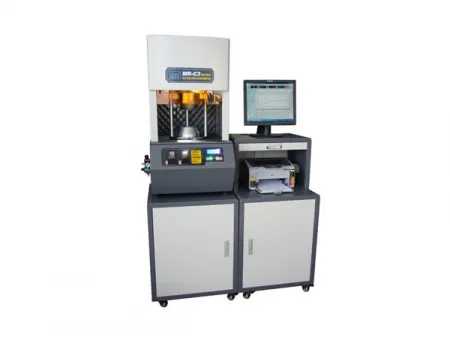
As a apparatus, Rheometer must have the following characteristics: First, higher stability, lower failure rate, which include: mechanical parts stability, software stability, electrical safety; Second, reproducible curves, smoothing curve of a single good. As the testing machine, reproducibility and smoothness is very important for accurately reflect the characteristics of rubber itself.
Our Company's Technology Advantages As first Rheometer designer inChina, we begin to study Rheometer since 1970. Now, about 40 percent of our instruments are exported. We hold about 75 percent exportation ofChina. We’re first and only CE approved producer for Rheometer and Mooney Viscometer in China. RADE has good reputation in the rubber industry because we keep carrying improvement and introducing innovations in the production, and developing new technology and products to meet the demands of the market. With improving on the products’ technology, the turnover is greatly increased. Instruments of RADE play a tremendous role in the rubber production and rubber research. We take part in the works to draw up the Chinese government standard for Rheometer and Mooney Viscometer.Advanced technology, professional experience and stable qualification are the basis of our products. We’d like to develop together with every customer. Technical Characteristics and Advantages of Products
Higher Stability Mechanical, software, communications, electrical and so on have very high stability. high integration on Electrical part, on the one hand, not easy to damage and failures occur, such as poor contact, etc., on the other hand, to facilitate a quick upgrade and maintenance. Low failure rate of operation, long service life.
Smooth Curve and Reproducibility Result At 160 ℃, 12min time range, with very good tread rubber mixer to do four consecutive experiments, all of the test graph are smoothing curve, a few seconds difference in T90. This is also one of our steps in the factory inspection.
Easy to Operation and Good in Using MR-C3 has a fully automatic control system. During one experiment, what the operator need to do is inputting and removing the rubber sample, others operations are done by the computer. When reach the setting time, the door opened automatically, the computer calculated parameters for all properties. All data and curve can be automatically saved.
Heating Fast and Temperature Restore Stability Rotorless Rheometer can be heated from room temperature to 185°C in less than 7.5min, while restore less than 1.5 minutes. Fluctuations in temperature are ± 0.1°C Temperature Control PID temperature control are used in all manner, using Pt100 as temperature sensor. thermal insulation materials are included to effective protection of the temperature stability during the experiment, especially for high-temperature fast seized.
Outlook of Structure MR-C3 series using the latest design, elegant, easy to operate. Machine size and weight is the smallest of all similar products. Cavity structure using ISO international standards. Automatic and Security Door The instrument is equipped with automatic security door, avoided any injuries during the operating l CE Certification l Lower noise, ≤55db
Specifications Range of temperature control: From room temperature to 200℃;
Temperature fluctuation in die: ≤±0.1℃;
Temperature display resolution: 0.1℃;
Rate of temperature increase: 16℃/min-25℃/min
Measurement range of torque: 0-20Nm
Torque resolution: 0.001Nm;
Angle of die oscillation: ±0.5°,±1°,±3°,±5°;
Frequency of die oscillation: 1.67Hz (100r/min) Test Results l {0>ML Min. torque (dNm)—The testing value of sample’s curing characteristics (viscosity) before curing.<}0{>ML Min. torque (dNm)—The testing value of sample’s curing characteristics (viscosity) before curing.<0} l {0>MH Max. torque (dNm)—The testing value of sample’s shearing modulus or rigidity. Including even torque, max. torque for returning curve, and the max. torque during the specific period of time where no even or returning curve happens.<}0{>MH Max. torque (dNm)—The testing value of sample’s shearing modulus or rigidity. Including even torque, max. torque for returning curve, and the max. Torque during the specific period of time where no even or returning curve happens.<0} l T{0>ts1 (min)— when oscillates at the angle of 0.5° or 1°, the relative time when the torque increases to ML 1dNm. This figure shows the scorch time <}0{>Ts1 (min)— when oscillates at the angle of 0.5° or 1°, the relative time when the torque increases to ML 1dNm. This figure shows the scorch time.<0}<0} l {0>ts2 (min)— when oscillates at the angle of 3°, the relative time when the torque increases to ML 2dNm. This figure shows the scorch time. <}86{>Ts2 (min)— when oscillates at the angle of 3° or 5°, the relative time when the torque increases to ML 2dNm. This figure shows the scorch time l {0>t10 (min)—The time when the torque increases to ML 10 (MH - ML ) / 100dNm. This figure shows the scorch time.<}0{>T10 (min)—The time when the torque increases to ML 10 (MH - ML ) / 100dNm. This figure shows the scorch time.<0}<0} l <0}{0>t50 (min)—The time when the torque increases to ML 50 (MH - ML ) / 100dNm. This figure shows the scorch time.<}0{>T30 (min)—The time when the torque increases to ML 30 (MH - ML ) / 100dNm. <0} l {0>t90 (min)—The time when the torque increases to ML 90 (MH - ML ) / 100dNm. This figure shows the scorch time.<}96{>T60 (min)—The time when the torque increases to ML 60 (MH - ML ) / 100dNm. This figure shows the optimum cure time. l {0>t90 (min)—The time when the torque increases to ML 90 (MH - ML ) / 100dNm. This figure shows the scorch time.<}96{>T90 (min)—The time when the torque increases to ML 90 (MH - ML ) / 100dNm. This figure shows the optimum cure time. l {0>t90 (min)—The time when the torque increases to ML 90 (MH - ML ) / 100dNm. This figure shows the scorch time.<}96{>Ti (min)—The time when the torque increases to ML i (MH - ML ) / 100dNm. <0}<0} l {0>Vc—Curing speed index.<}0{>Vc—Curing speed index.<0} {0>Vc =100/(t90 – tsi)<}0{>Vc =100/(T90 – Tsi)
Links:https://www.globefindpro.com/products/36000.html
-
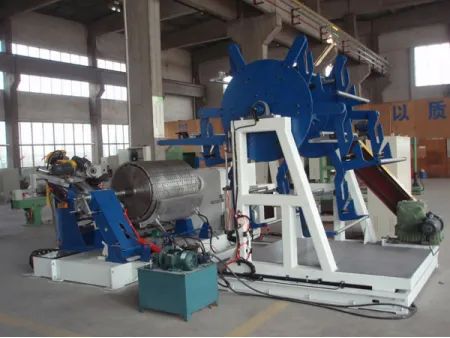 Wrapped V-Belt Building Machine
-
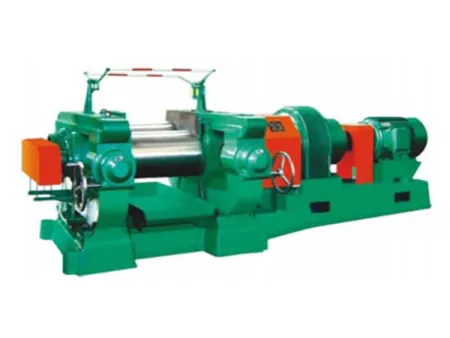 Rubber Grinding Mill
-
 Rubber Calender Accessories
-
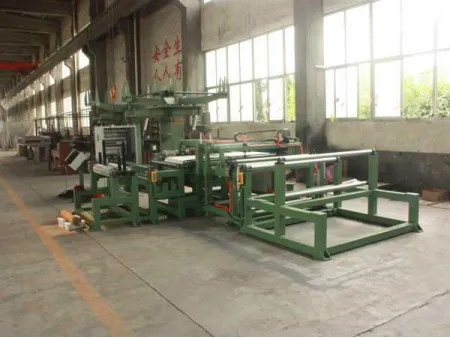 Cross Cutter
-
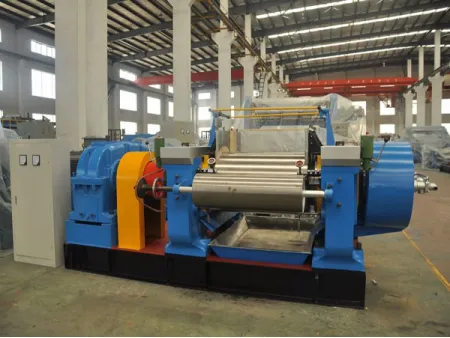 Rubber Refiner Mill
-
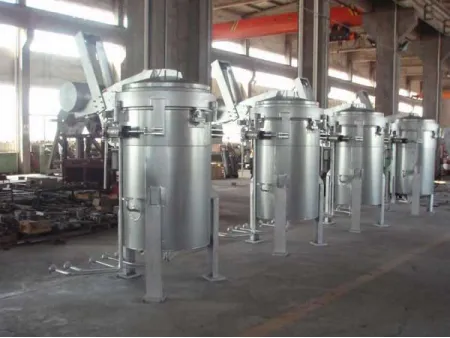 V-Belt Autoclave
-
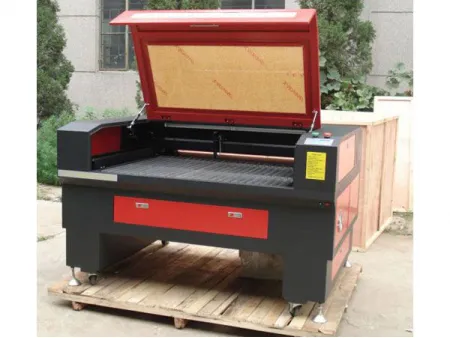 Laser Engraving Machine
-
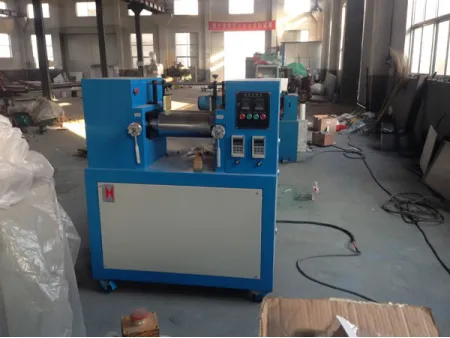 Laboratory Mixing Mill
-
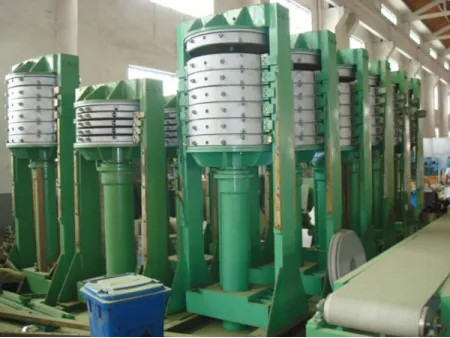 Hydraulic Tire Press
-
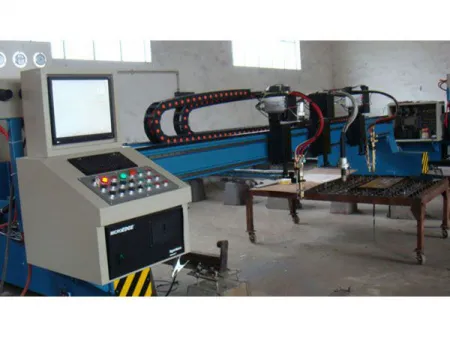 CNC Plasma Cutting Machine, Gas Cutting Machine, Gantry Structure
-
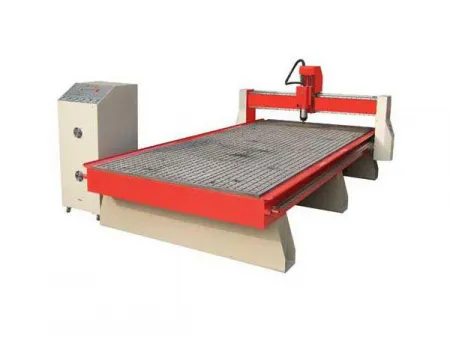 CNC Woodworking Machine
-
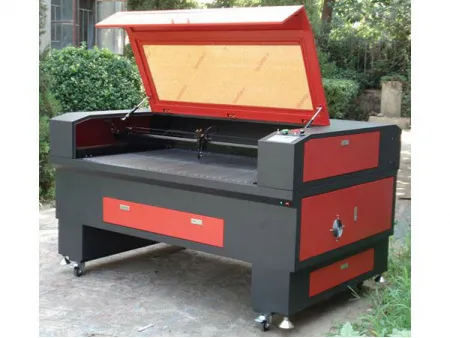 Laser Cutting Machine
