XHVT-10Z30Z50Z Vickers Hardness Tester with CCD Camera
Hardness Testing Machine Request a quote Test force range: 0.2kgf (1.96N) ~ 50kgf (490N) Integrated design of hardness tester and computer, with Windows 7 system, this hardness tester can be connected to external displayer and printer. Touch screen comes with convenient operation, clear and intitute display. The lifting screw adopts worm and gear structure for smooth transmission. XHVT-10Z30Z50Z Vickers hardness tester adopts 3 objectives for measuring, and features automatic regonization and shafting between objective and indenter. Request a quote Built-in CCD camera offers clear indentation image and automatic hardness measuring. The hardness tester features high measuring precision and stable performance, elinimating manual error. Digital test table offers accurate positioning and measuring. Automatic loading/dwell/unloading of test force Supports scale conversion. Applications 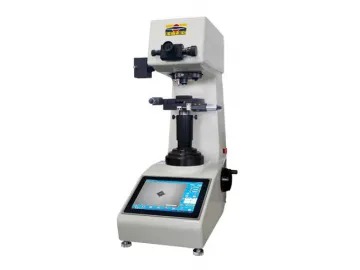 Technical Data Test force: XHVT-10Z:0.2kgf (1.96N), 0.3kgf (2.94N), 0.5kgf (4.90N), 1kgf (9.80N), 2kgf (19.6N), 2.5kgf (24.5N), 3kgf (29.4N), 5kgf (49N), 10kgf (98N) XHVT-30Z:0.3kgf (2.94N), 0.5kgf (4.90N), 1kgf (9.80N), 2kgf (19.6N), 2.5kgf (24.5N), 3kgf (29.4N), 5kgf (49N), 10kgf (98N), 20kgf (196N), 30kgf (294N) XHVT-50Z:0.5kgf (), 1kgf (9.80N), 2kgf (19.6N), 2.5kgf (24.5N), 3kgf (29.4N), 5kgf (49N), 10kgf (98N), 20kgf (196N), 30kgf (294N), 50kgf (490N) Max. sample height: 170mm Test mode: HV/HK Test range: 1HV~2967HV Loading method: automatic (loading/dwell/unloading) Turret: automatic shafting of indenter and objective Micro computer: CPU: Intel I5, memory: 4G, SSD: 240G CCD pixel: 1.3 million Conversion scale: HV, HK, HRA, HRBW, HRC, HRD, HREW, HRFW, HRGW, HRKW, HR15N, HR30N, HR45N, HR15TW, HR30TW, HR45TW, HS, HBW Hardness reading: automatic reading, touch screen displays the indentation Data output: Word or Excel report for curve graph Objective: 10×, 20×, 40× Effective field of view: 10×: 680μm, 20×: 340μm, 40×: 170μm Min. measuring unit: 10×: 0.1μm, 20×: 0.05μm, 40×: 0.025μm Dwell time: 0~60s Light source: Halogen lamp X-Y table: Size: 120×120mm, travel: 25×25mm, resolution: 0.001mm Throat depth: 130mm Execute standard: ISO 6507,ASTM E92,JIS Z2244,GB/T 4340.2
XHVT-10Z30Z50Z Vickers hardness tester is suitable for the hardness testing of ferrous metals, non-ferrous metals, IC thin sections, coatings, ply-metals, and glass, ceramics, agate, precious stones, thin plastics, as well as the depth and trapezium of the carbonized layers and quench hardened layers.

Scan QR to Read
Links:https://www.globefindpro.com/products/4049.html
Links:https://www.globefindpro.com/products/4049.html
Recommended Products
-
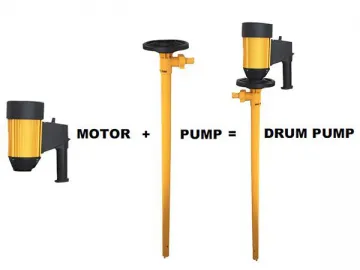 HD/SB Series Liquid Transfer Drum Pump
-
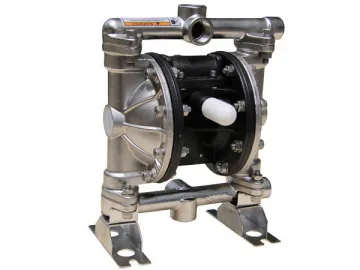 AOK Air Operated Diaphragm Pump
-
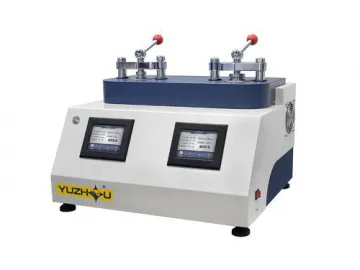 YZXQ-3 Hot Mounting Press with Two Cylinders, Hydraulic Type
-
 Centrifugal Chemical Pump
-
 QG-PCB30 Precision Cutter, Automatic & Manual
-
 QGZ-65 Metalloraphic Abrasive Cutter, Automatic
-
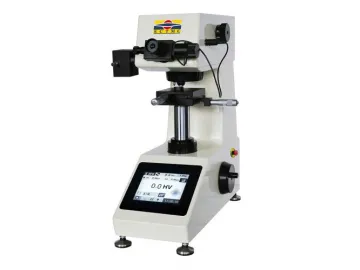 MHV-1000Z Digital Micro Vickers Hardness Tester, with Touch Screen
-
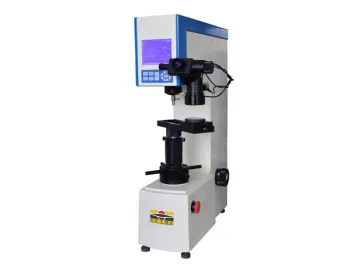 570HAD Digital Universal Hardness Tester
-
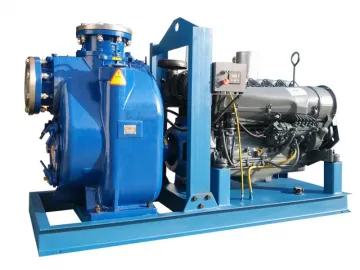 Diesel Engine Driven Pump
-
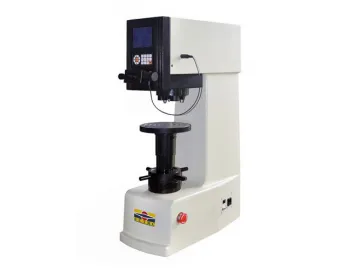 XHB-3000Z Digital Brinell Hardness Tester with 3 Indenters, Semi-Automatic Type
-
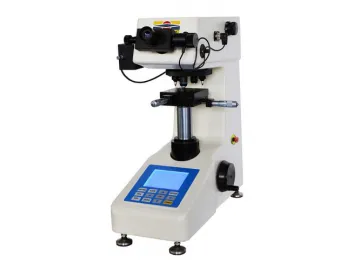 404SXV Digital Micro Vickers Hardness Tester, with Touch Screen
-
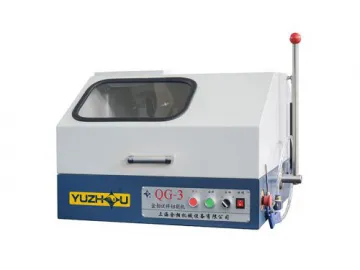 QG-3 Metalloraphic Abrasive Cutter, Manual
Hot Products
