Footwear Testing Machine (Heat Resistance Tester)
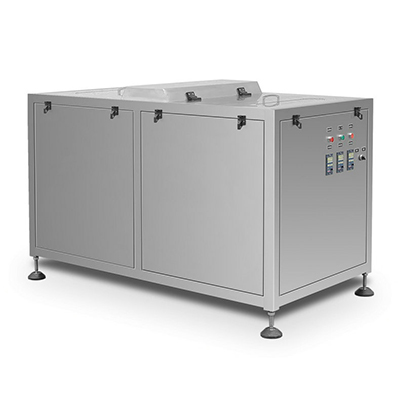
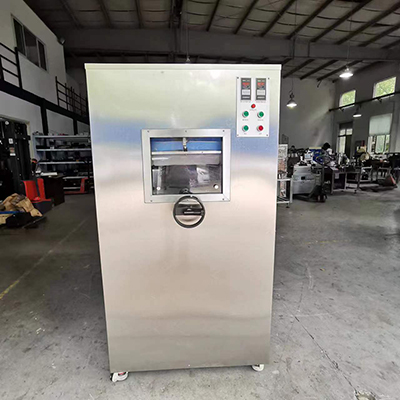
As a selection of smartly designed footwear testing machine, the heat resistance tester is extensively used in testing the heat resistance of the shoe materials, by evaluating the melting, charring, cracking, or crazing condition of the test piece after the processing with our product. For leather soles, our footwear testing machine can help users to confirm the charring or cracking location and if the corium is damaged.
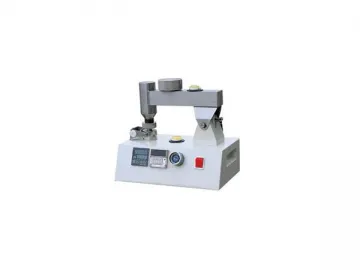
The test piece contacts with the heat source (metal block with constant temperature) under certain pressure. After 60 seconds, users can observe the damage degree of the material surface, such as softening, fusion, cracking, etc.
Configurations of the Footwear Testing Machine
1. Cylindrical copper probe
The weight of the cylindrical copper probe for the footwear testing machine is about 200±20g. The side length of the probe square bottom is about 25.5±0.1mm. A cylindrical axis in the diameter of 6.5mm is connected to the temperature measuring equipment and is 4mm beyond the probe undersurface.
2. Metal heating block
Designed in the weight of 530±50g, the heating block for the footwear testing equipment encircles the probe. Apart from the heating element, the heat resistance tester is also installed with the control switch to preheat the probe to the temperature of 400°C.
3. Temperature measuring equipment
The temperature measuring equipment for the footwear testing machine gets contact with the square bottom of the probe to test the inner temperature. The temperature measuring equipment includes a 400°C mercurial thermometer.
4. Probe controlling device
This device for the leather testing equipment is used to control the operation of the probe to ensure the uniform contact between the heat block surface and the test piece. The average pressure distribution on the horizontal plate is 20±2kPa.
5. Self-regulated platform
The diameter of the self-regulated platform for the footwear testing machine is about 40mm. It is employed to place the test piece and impose uniform pressure.
6. Hinged support with thermal insulation surface
The hinged support is generally used during probe heating. It can be removed when the experiment is completed.
7. Mandril with the diameter of 10±1mm
8. Temperature control device
PID temperature controller: 0-400°C, stability: 2°C, accuracy: 2°C
Technical Parameters of the Footwear Testing Machine
| Model | GT-KB24 |
| Copper cylindrical probe | 200±20g |
| Metal heating block | 530±50g |
| Heating area | 650±50mm2 |
| Mandrel diameter | 10±1mm |
| Pressure | 20±2kPa |
| Test piece size | Sole: 70×30×(3-7)cm, others: 105×42×55cm or 30×18.5×30cm |
| Machine dimensions | 300×180×300mm(L×W×H) |
| Weight | 40 kg |
| Standards | ISO 882-1:1998(E), ANSI Z41-1999, SATRA PM49 ,GB/T 20991 Section 8.7.1, ISO 20344 |
Links:https://www.globefindpro.com/products/43179.html
-
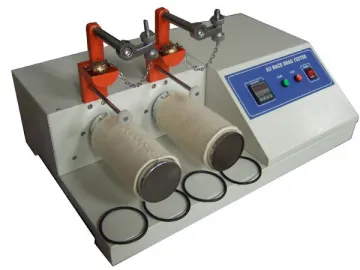 Snagging Resistance Tester (ICI Mace Snag Tester)
-
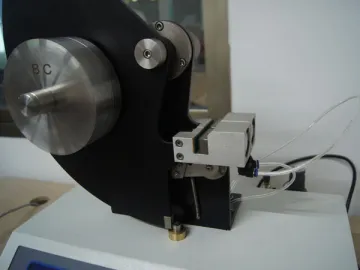 Tearing Strength Testing Machine (Electronic Elmendorf Tear Tester)
-
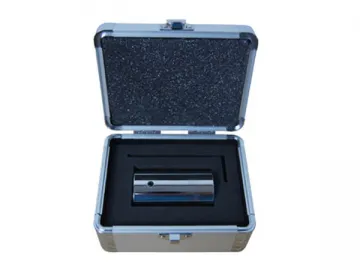 Durability Testing Machine (Small Toy Choke Tester)
-
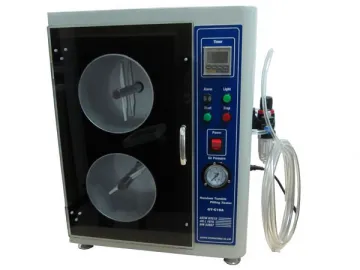 Pilling Resistance Testing Machine
-
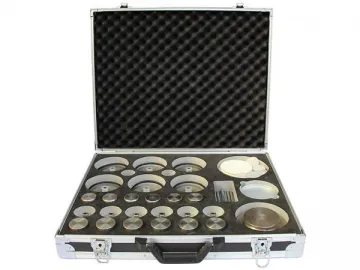 Abrasion and Pilling Resistance Testing Machine (Nu-Martindale Abrasion Tester)
-
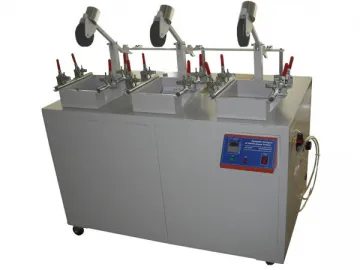 Seam Fatigue Tester
-
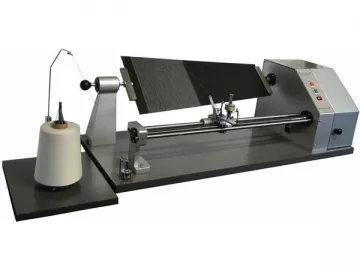 Yarn Evenness Testing Machine
-
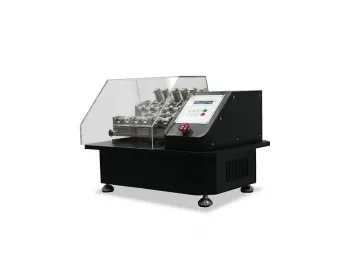 Rubbing and Color Fastness Tester
-
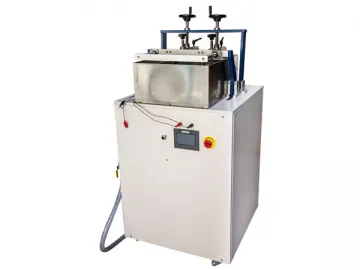 Footwear Testing Machine (Water Penetration and Flex Tester)
-
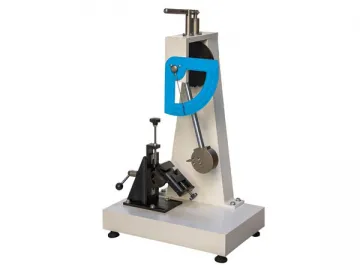 Heel Impact Tester
-
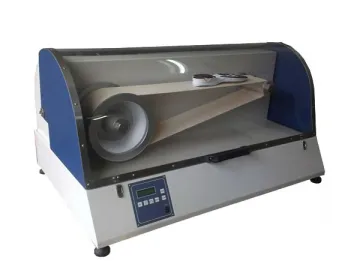 Shoe Sole Flexing Tester (Belt Type Testing Machine)
-
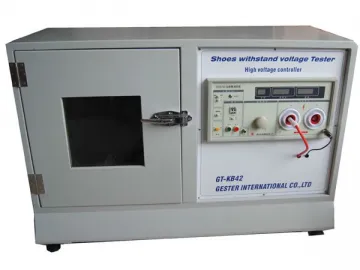 Insulation Resistance Tester
