Precision Steel Balls
Precision Balls, Bearing Balls, Precision Metal Balls, Chrome Steel Balls, Precision Steel Balls
This is a kind of high-speed precision steel ball made from GCr15 vacuum degassing refining bearing steel, by a series of operations like forming, burnishing, heat treatment, polishing, surface reinforcing, initial lapping, flaw detection, precision lapping, cleaning, rust prevention, and packaging. The ball forming involves 2 steps: lightly pulling the raw material, and cutting & cold heading automatically. Compression ratio of the raw material is controlled between 1.9 and 2.5 during cold heading. After forming, the precision balls will show little or no rings and poles. The finished steel balls feature high precision, no noise, stable quality, and no surface defect. Specifications of our steel balls range from 3.9688 to 15.0812, including 3.9688, 4.7625, 5.9531, 6.35, 6.7469, 7.144, 7.9375, 8.7312, 9.525, 11.1125, 11.5094, 11.9062, 12.0000, 12.3031, 12.7000, 13.4938, 14.2875, and 15.0812. Zhengang steel balls are mainly applied in appliances, automobile, engine, bearings, bicycle, etc.
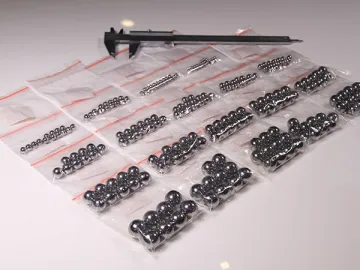
Manufacturing
High-speed cold heading for steel wiresPrecision ball burnishing
Steel ball hard grinding
Precision ball initial lapping
Vertical precision lapping for steel balls
Horizontal precision lapping for metal balls
Photoelectric visual inspection for metal balls
Finished ball cleaning
Steel ball packaging
Inspection Standards
| Shanghai Zhengang Steel Ball Manufacturing Co., Ltd. | File number | ZG/QW 03-05.1-2009 |
| Inspection standards | Version | B |
| Title: GCr15 3.000-25.400 Steel Ball Cold Heading (Hot Rolling) Process Inspection Standards | Modification status | 1 |
| Page number | 2/2 |
1. The standards regulate the inspection requirements and quality appraisal for GCr15G steel ball cold heading process.
2. The cold heading process will be detected according to “ZG/QW05-01-2009 Steel Ball Cold Heading Process Technical Requirements”.
3. Quality assurance is needed for hot rolling process apart from the cold heading technical requirements.
4. We test the measuring tools, testing methods, number of sampling (N), and unqualified counting number (C) by self-test or sample test according to Table 1.
| Inspection items | Measuring tools | Testing methods | Self-test N/C | Sample test N/C |
| Diameter tolerance | calipers with an accuracy of 0.02mm | catch the ball (stay away from the chamfer) with the caliper jaw in an arbitrary direction | a test for each 15 minutes 3/0 | 10 balls for each barrel 10/0 |
| Pressure deviation | determining the difference between the max and mini length of the rings | |||
| Flaws | hot pickling | observe manually | a test for each 180 minutes | 30 balls for each barrel 30/0 |
5. Details of quality appraisal standards
5.1. Steel balls whose cold heading detection results meet the standards are left to be processed
5.2. Balls whose diameter tolerance and pressure deviation are in line with Table 2 are left to be processed
5.3. Steel balls with the burrs, cracks less than 1/2 of the sided allowance can be seen as qualified, those with the flaws less than 2/3 are treated as unqualified.
5.4. For those balls do not comply with 5.3, or whose diameter tolerance and pressure deviation are in line with Table 2, we retain them if the unqualified balls account for less than 2% of the total number, else we report as worthless.
5.5. Steel balls with the ball amount for each 1kg weight fail to reach our standards will be left for further process.
| Specification | Diameter tolerance | Pressure deviation |
| 3.000 | over 0.06-- 0.10 | over 0.05-0.08 |
| 3.969--5.953 | over 0.08-- 0.12 | over 0.06-0.10 |
| 6.000--8.000 | over 0.10-- 0.14 | over 0.08-0.12 |
| 8.500--12.000 | over 0.12-- 0.16 | over 0.10-0.14 |
| 12.303--15.081 | over 0.14-- 0.18 | over 0.12-0.16 |
| 15.875--19.05 | over 0.16-- 0.20 | over 0.14-0.18 |
| 19.875--25.400 | over 0.20- 024. | over 0.16-0.20 |
5.6. Unqualified treatment will be given the steel balls if there are unqualified items in the hot rolling quality assurance.
Quality Inspection
Links:https://www.globefindpro.com/products/54505.html
-
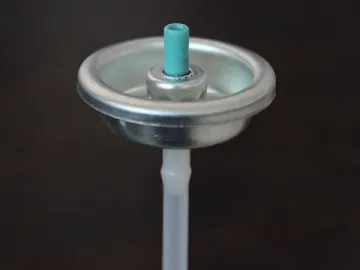 Aerosol Valve for Powder Spray
-
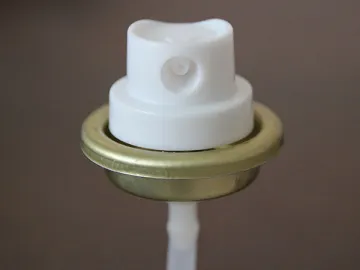 Aerosol Valve for Foam Cleaner Spray
-
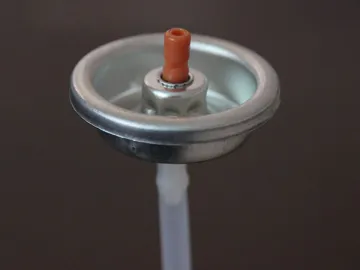 Aerosol Valve for Insecticide
-
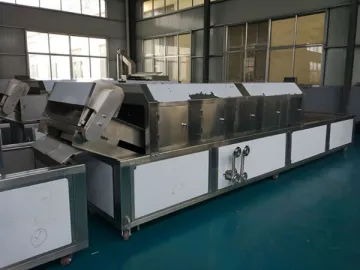 Meatball / Fishball production line
-
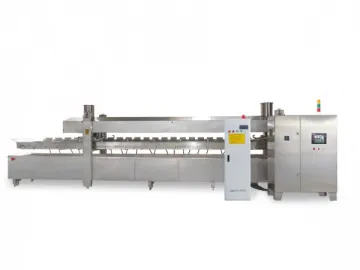 Continuous Frying Machine
-
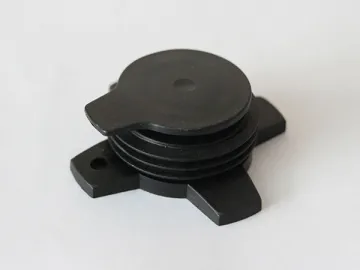 Aerosol Valve for Gun Type PU Foam Sealant
-
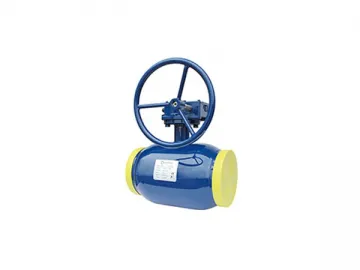 Floating Ball Valve DN150-DN350
-
 Continuous Belt Oil Filter
-
 Chicken nuggets / Hamburgher patty production line
-
 Flanged Floating Ball Valve DN150-DN350
-
 Vacuum Oil Filter
-
 Aerosol Valve for Mould Release Spray
