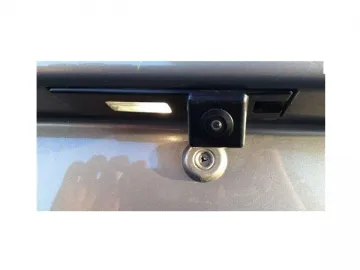
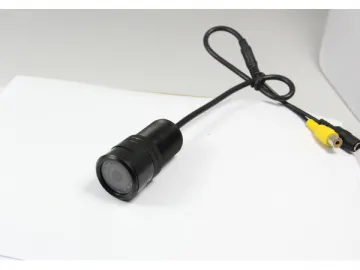
Dedicated Car Camera
DedicatedCar Camera
Our company provides variousdedicated car cameras with fine workmanship and excellent performance. Withsmall volume, the product can be installed in the trunk handle, bumper, licenseplate lamp and the reserved holes of the original car, which will not destroythe structure or affect the beauty of the car. Our product can be connectedwith most vehicle display devices, such as car monitor, DVD, rearview mirrordisplay, portable GPS, etc.
The housing of our product is made of high-quality plastic material and iswaterproof and shockproof. The adopted ultrashortKorean lens has a nanometer mirror surface which is anti-fog. Internationalmainstream chips, SONY CCD, MT9V136-A and CMOS PC1030, are adopted, producingcolor high-definition images. The horizontal resolution is 380, 420 or 600 TVLine.
Our dedicated car camera has a large viewing angle which is 170 degrees,providing a wide field of vision. It can directly and clearly show theobstacles that can not be identified by the park distance control, such asstones, hallow places, etc., thus bringing convenience to reversing. The roughdistance between the objects and the rear of the car can be shown through thescale lines on the display screen, making reversing safer. In addition, ourproduct has night vision function, which can show road conditions at night.
Our product has passed aging test, waterproof test as well as high and lowtemperature test. It has obtained CE and RoHScertifications. A one-year warranty is provided, so customers can feel secureto purchase.
InstallationProcedure
1. Remove the small lamps of the license plate;
2. Put the lens wire harness through the original position of the small lamp;
3. Fix the camera by the buckle;
4. Connect the power cord of the original license plate lamp to the powersupply of the camera built-in lamp;
5. Connect the switch wiring of the reversing camera;
6. Connect the camera signal line to one end of the signal extension cord;
7. Draw the extension cord through the power supply cord of the trunk and thesill plate to the dashboard;
8. Connect the signal extension cord to the display;
9. Installation is finished.
Links:https://www.globefindpro.com/products/55708.html
-
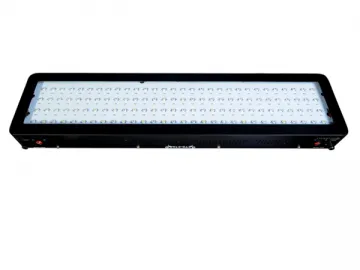 200W LED Aquarium Light
-
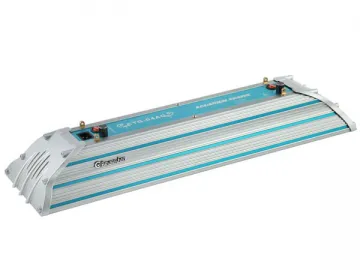
 300W G1 LED Panel Aquarium Light
-
 Night Vision Car Rear View Camera
-
 G2 300W High Power LED Aquarium Light
-
 USB Vehicle Black Box
-
 Rubber Tyre Gantry Crane (RTG)
-
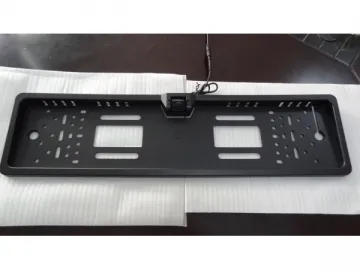 European Car Number Plate Frame Camera
-
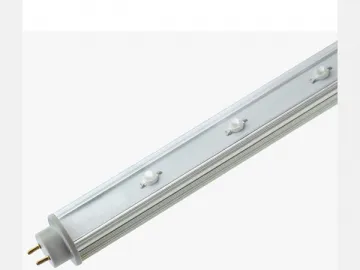 20W LED Tube Aquarium Light
-
 OBD Auto Window Close And Open Module
-
 75W LED Aquarium Light & Light Fixture
-
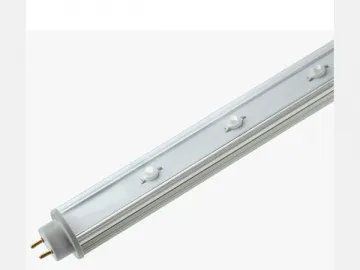 10W Tube LED Aquarium Light
-
 Tunnel Transporter