Die Tryout
Automotive Panel Drawing Die Tryout
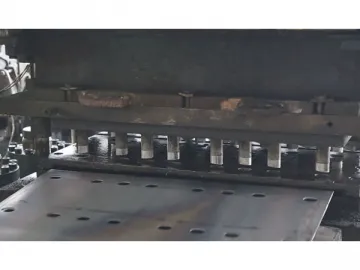
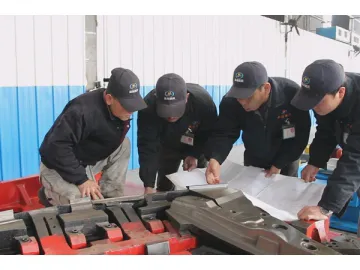
Using our own hydraulic press, we can test the draw dies. During the die tryout process, we can fine tune the die before it leaves the factory.
Precise adjustment increases the stamping quality and will also cut down on lead times. The purpose of the die tryout process is to make final adjustments to products with manufacturing or design defects, and provide our customers with products that meet even the most extensive of requirements.
Cracks and wrinkles on the surface are common problems in the drawing process, which is why controlling metal flow is essential to a successful drawing. To do so, a few factors need to be taken into consideration to minimize the potential for cracks and wrinkling in the drawn part. They are listed below.
Clearance between Punch and Die
Large clearances between the punch and die easily cause wrinkles on the wall of the part. Worst case scenario, wavy edges appear around the flange. A smaller than expected clearance often leads to localized stress, resulting in over-stretch. Employees should take care to adjust the clearance for a symmetrical drawing die or sealed die in the event of any wrinkling.
Blank Holder Force
During die tests, we use double-acting presses to perform stretching and drawing operations. A large blank holding force means the blank has no chance to slide laterally, minimizing the potential for wrinkling and improving the rigidity of the drawn part. The blank holder force varies over the course of the drawing, depending on the degree of deformation on different component parts. This further prevents tears and wrinkles.
Clearance between Blank Holder and Blank
As it is difficult to control the blank holder force, operators can adjust the clearance between the blank holder and the blank, in an attempt to reduce the potential for wrinkling and cracking due to variable thicknesses across the part surface.
Trim Die
Large panel stamping is a multi-step process. Trimming needs to be carried out shortly after drawing. Some trim dies come with piercing units, for which drill holes are needed for future welding and connection purposes.
Flanging, Forming Die
What is used to fine tune the trim die also applies to the flanging and forming die. Clearance control is an important aspect of the flanging process. Generally, the clearance between the punch and the die should be 90% of the sheet thickness. This means the sheet should be forcibly bent while reducing 10% of its thickness. Too much clearance can make right angle flanges nearly impossible.
Links:https://www.globefindpro.com/products/59289.html

