SY-30 Centrifugal Constant Acceleration Tester
The SY-30 centrifugal constant acceleration tester is used to check whether the structural adaptability and performance are in good condition, when the components, equipment sets and other electronic goods are suffered by the force (excluding gravity) generated at steady-state acceleration or constant acceleration.
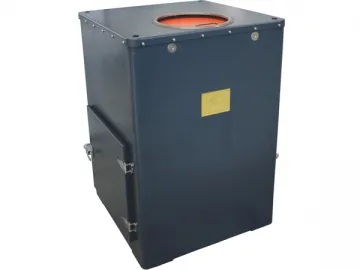
The constant acceleration testing machine is fit for evaluating the structural integrity of some components as well as the electrical parameters of specimens under constant acceleration.
Functions and Features The interface is remotely controlled by a fully automated computer in real time. As long as an operator inputs simple value, the centrifugal constant acceleration tester will be started. It allows all acceleration tests to be accomplished accurately. The control interface is used for real-time display of the test curves, tolerance, and the test time. Multi-stage acceleration consecutive tests can be achieved in accordance with the requirements of specimens. Open-circuit, over-limit and over-speed protection is available in the centrifugal constant acceleration tester. Our testing apparatus can finish a test under manual control in case of automatic control failure or no automatic control. Technical Data| Model | SY30-3 | SY30-5 | SY30-10 | SY30-20 | SY30-05 | SY30-04 | SY30-03 | SY30-06 | SY30-08 |
| Max. Load (kg) | 3 | 5 | 10 | 20 | 0.05 | 0.04 | 0.03 | 0.02 | 0.02 |
| Position | 5 | 4 | 2 | 2 | 10 | 10 | 10 | ||
| Acceleration (m/s2) | 30-2000 | 30-2000 | 50-1000 | 50-1000 | 1000 - 200000 | 5000-400000 | 5000-800000 | 5000-6000000 | 5000-8000000 |
| Specimen Size (mm) | 100x100x200 | 100x100 x 200 | 300 x 300 x 300 | 300 x 300 x 300 | -- | -- | -- | -- | -- |
| Specimen-Installed Radius (mm) | 260 | 300 | 550 | 750 | 100 | 80-100 | 80-100 | 80-120 | 80-120 |
| Turning Radius (mm) | 325 | 350 | 700 | 900 | 110 | 110 | 110 | ||
| Max. Rotating Speed (r/min) | 1000 | 400 | 13500 | 21500 | 30000 | 25500 | 30000 | ||
| Start Time (min) | ≤3 | ≤4 | ≤3 | ≤3 | ≤4 | ≤5 | ≤5 | ≤5 | ≤5 |
| Stop Time (min) | ≤3 | ≤4 | ≤3 | ≤3 | ≤4 | ≤5 | ≤5 | ≤5 | ≤5 |
| Continuous Working Time (min) | 60 | 60 | 60 | 60 | 30 | 5 | 5 | 5 | 5 |
| Power Consumption (kVA) | 1.5 | 2.2 | 7.5 | 11 | 6.5 | 6.5 | 6.5 | 6.5 | 6.5 |
| Dimension (L×W×H: mm) | 920x910x1245 | 920 x 910x1245 | 1600x1600x1000 | 2000x2000x1100 | 900 x 900x1000 | 900x900x1000 | 900 x 900x1000 | 1000 x 980x1020 | 1000 x 980x1020 |
| Current Collector (optional) | 15 ring 500V 5A | 15 ring 500V 5A | 12 ring 500V 5A | 12 ring 500V 5A | -- | -- | -- | -- | -- |
| Weight (kg) | 800 | 850 | 1700 | 2500 | 1000 | 1500 | 1500 | 1500 | 1700 |
| Control Cabinet (mm) | Single cabinet 555 x 1000 x 1300; Double cabinet 1200 x 1200 x 1380 | 9||||||||
| Power Supply | Three-phase 380V, 50/60Hz | ||||||||
| Measure and Control System | IPC control | ||||||||
| Standard | GJB150 GJB360 GB/T2423 MIL-STD-810F IEC68-2-7 | ||||||||
| Working Environment | Temperature range 0 ~ 40°C | ||||||||
| Humidity range ≤80% (non-condensing) | |||||||||
| Note | The specimen-installed radius, current collector, and control accuracy can be configured in accordance with related standard or the requirements of users. | ||||||||
Scan QR to Read
Links:https://www.globefindpro.com/products/8343.html
Links:https://www.globefindpro.com/products/8343.html
Recommended Products
-
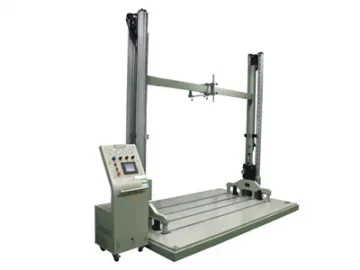 SY-41 Pneumatic Drop Tester
-
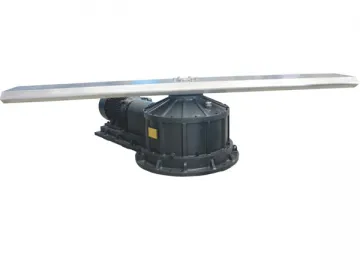 SY-31 Centrifugal Constant Acceleration Tester
-
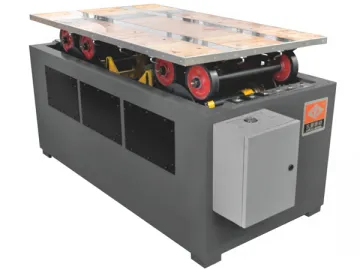 SY-50 Transport Simulation Tester
-
 CNC Panel Saw
-
 Table Saw
-
 SY-70 Hydraulic Vibration Tester
-
 Solar Water Tank
-
 CNC Tenoning Machine, Double End, MSK22188
-
 Solar Thermal Controller
-
 SY-13 High Acceleration Shock Tester
-
 SY-10 Hydraulic Free Fall Shock Machine
-
 ESD Series Modal Exciter
Hot Products
