Installation Instructions of Invisible Screen
InstallationInstructions of Invisible Screen
1. After receiving the finished product(Fig. 1), user moves it to the right place (Fig. 2)
Fig.1
Fig. 2
2. Screwholes can be seen after removing surrounding decorative covers (white parts inFig. 1)
3. Affix the screen on the installed position, adjust it up and down, left andright, and clamp the four edges with large plastic clips. (Small windows can beoperated by one person, while large ones need two persons.) See Fig. 3.
Fig. 3
4. After determining the accurate position, use the electricportable drill to drill holes. Diameter of the hole is 3.2 mm and 4.2 mm screws are used.(Fig. 4)
Fig. 4
5.Distances between two screws should less than 800mm, otherwise, screw holes should be drilledbetween the two screws. (Fig. 5)
If it is difficult to punch in the head and tail locations, screws can be fixedas shown in Fig. 5.
Fig. 5
6. Adjustthe flatness of the screen slide-way while tightening the screws, making it asflat as possible.
7. Use the screwdriver to adjust the “ ” or “-” holes to adjust the rewindspeed. Clockwise adjustment is tight and counterclockwise adjustment is loose.
8. After adjusting, install the decorative covers. Installation is over. (Fig.6)
Fig. 6
Plus: Installation Notes
1) Electricdriller, screwdriver and other essential accessories are needed.
2)If the screen isinstalled on second floor or above, installing workers above and supportingpeople below must buckle seat belts.
3) After installation, speed of the screen should be adjusted smoothly.
4) Check whether there is residue on the product after installation, if so, cleanthe product.
5) Shoe covers should be put on when entering renovated houses. Afterinstallation, clean up the construction site and take out construction garbage.
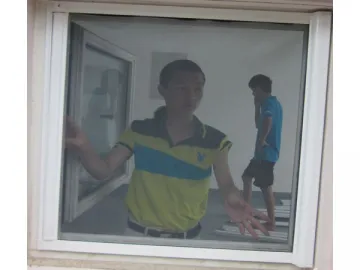
Links:https://www.globefindpro.com/products/90137.html
-
 BOPP Aluminized Complex Film for PVC Window
-
 Protective Film for Acrylic Sheet, PVC/ABS Sheet
-
 Floor Protection PE Film
-
 Casement Aluminum Windows and Doors
-
 100KW Power Supply of 3 Phase MF Induction Heating
-
 Carpet Protection Film
-
 Gear Quenching Complete Equipment
-
 500KW Power Supply of High Frequency Induction Heating
-
 Wood Aluminum Composite Windows and Doors
-
 UPVC Shutter
-
 Single Suspended Work Platform
-
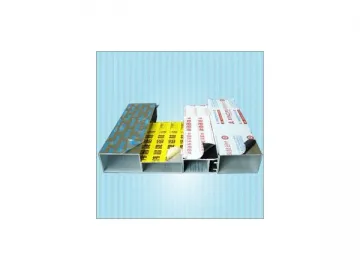 PE Protective Film for Aluminum Profile, Aluminum Window

