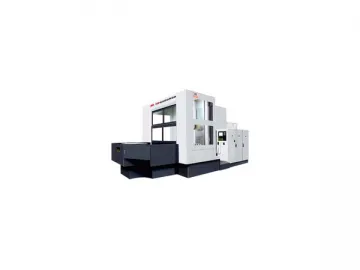
HMC50, HMC63, HMC80 Horizontal Machining Center
These machining centers are developed by absorbing foreign and domestic advanced technology. They are suitable for milling, boring, tapping, etc. multiple processes on box type part for high precision and high efficient machining. Today, these CNC machining centers are widely applied in the fields of automobile, diesel engine, aviation, home electrical appliance, general machinery, etc.
The column adopts gantry frame with advantages of good force distribution and high rigidity.
The spindle speed change is stepless with 2 steps gear changes which increase spindle torque.
The cooling oil supplies forced cooling on spindle bearing from outside of the spindle, which decreases the spindle temperature.
The spindle adopts high precision and high rigidity combined bearing, which make the spindle obtain high rigidity.
All axes adopt liner roller guideways with characteristics of high loading capability, small friction coefficient, good vibration absorbing, no crawling during low speed motion and high moving precision.
Standard Equipment
Siemens 840D CNC system
Automatic centralized lubrication system
Air conditioner for electric cabinet Chip conveyor and coolant system Full protection cover
Working light
Heidenhain linear scale for X, Y, Z axes
Angular encoder for B axis
Optional Equipment
Fanuc 18i CNC system
Spindle inner coolant
Specifications of Horizontal Machining Center
| Model | Units | HMC50 | HMC63 | HMC80 | ||
| Worktable | Worktable size | mm | 500×500 | 630×630 | 800×800 | |
| Worktable load | kg | 500 | 1200 | 2000 | ||
| Width of T slot | mm | 18×5 | 18×7 | 18×7 | ||
| Number of worktable | 2(changing pallets) | 2(changing pallets) | 2(changing pallets) | |||
| Changing time | s | 8 | 40 | 45 | ||
| Machining range | Max. travel of column -X axis | mm | 700 | 1000 | 1300 | |
| Max. travel of headstock-Y axis | mm | 650 | 850 | 1000 | ||
| Max. travel of worktable-Z axis | mm | 600 | 750 | 1000 | ||
| Worktable rotation-B axis | 1°×360 ° | 1°×360 ° | 1°×360 ° | |||
| Distance between spindle end surface and worktable center | Max. | mm | 800 | 950 | 1247 | |
| Min. | mm | 200 | 200 | 247 | ||
| Distance between spindle center and worktable surface | Max. | mm | 700 | 850 | 1000 | |
| Min. | mm | 50 | 0 | 0 | ||
| Spindle | Spindle taper | ISO7:24 No 50 | ISO7:24 No 50 | ISO7:24 No 50 | ||
| FANUC αi system | Main motor power | kW | 11/15(30min) | 15/18.5(30min) | 22/26(30min) | |
| Spindle speed range | r/min | 20-5000 | 20-5000 | 20-5000 | ||
| Max. axial resisting force of spindle | N | 7000 | 10000 | 10000 | ||
| Max. spindle torque | Nm | 376/513 | 512/634 | 750/889 | ||
| Feed | Cutting feed | mm/min | 1-10000 | 1-4000 | 1-10000 | |
| Rapid feed | m/min | 24/24/24 | 20/20/18 | 24/24/24 | ||
| Tool magazine and automatic tool changing device | Tool magazine capacity/Tool selection method | Pcs | 40/fixed position | 40/fixed position | 60/fixed position | |
| Tool shank specification | ISO7:24 JT50 | ISO7:24 JT50 | ISO7:24 JT50 | |||
| Max. tool weight | kg | 25 | 25 | 25 | ||
| Max. tool length | mm | 400 | 400 | 400 | ||
| Max. tool diameter | mm | φ125(next pocket full) | φ125(next pocket full) | φ125(next pocket full) | ||
| mm | φ250(next pocket empty) | φ250(next pocket empty) | φ250(next pocket empty) | |||
| Tool changing time | s | 9 | 9 | 9 | ||
| Positioning accuracy of machine | X, Y, Z axes | mm | 0.016 | X,Y:0.02 Z:0.016 | 0.02 | |
| B axis | 4 ×90 ° | 4 | 4 | 4 | ||
| Repeatability positioning accuracy | X, Y, Z axes | mm | 0.01 | X,Y:0.012 Z:0.01 | 0.012 | |
| B axis | 4 ×90 ° | 6 | 6 | 6 | ||
| CNC system | FANUC 0i-MD | FANUC 0i-MD | FANUC 0i-MD | |||
Links:https://globefindpro.com/products/96266.html
-
 LED Grow Light
-
 LED Cup Light E27/E14
-
 Festoon bulb 31mm x 10mm
-
 Vertical Machining Center, VMC850B, VMC1000B, VMC1100B
-
 Festoon bulb 42mm x 10mm
-
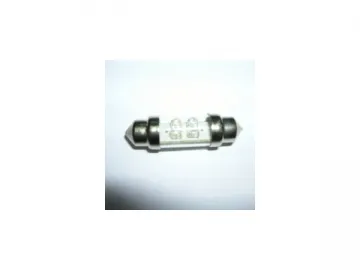 Festoon bulb 36mm x 10mm
-
 LED Reading Lamp
-
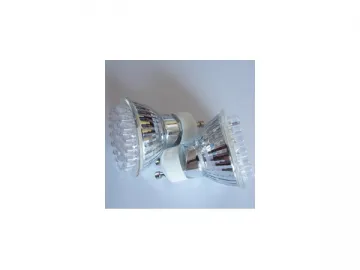 LED Cup Light GU10
-
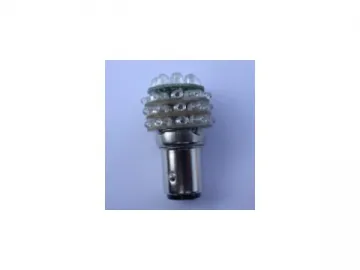 LED Auto Light T25 (cornering lamps /stop lamp/fog lamp,tail lamp)
-
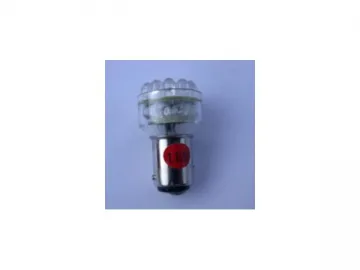 LED Auto Light T25 (cornering lamps /stop lamp/fog lamp,tail lamp)
-
 Vertical Machining Center VMC650E, VMC850E
-
 LED Reading Lamp
